Time management is a tricky concept, especially for young kids who haven’t quite grasped what time really means. Five minutes can feel like forever, and students genuinely don’t understand how long the time you give them actually is. That’s why they’re constantly asking, “Are we almost done?” or “How much time do we have left?”
When students understand how much time they have left, they’re able to stay focused, motivated, and more on task. They begin to pace themselves, feel more in control, and rely less on you for reminders. For teachers, that means fewer interruptions, more productive work time, and a classroom that runs more smoothly. This is where disappearing classroom timers make a big difference.
Prefer to watch instead of read? You can watch the full video here.
Table of Contents
Why Is Time So Hard for Young Students?
Time is an abstract concept, and abstract ideas are tough for young learners. When students can’t visualize time, they struggle to manage it. That confusion often shows up as:
- Constant questions about how much time is left
- Students working too slowly or not starting at all
- Others rushing and skipping steps
Without a clear way to see time, students are guessing, and that guesswork leads to off-task behavior.
How Can Disappearing Timers Make Time Visible?
What is a Disappearing Timer?
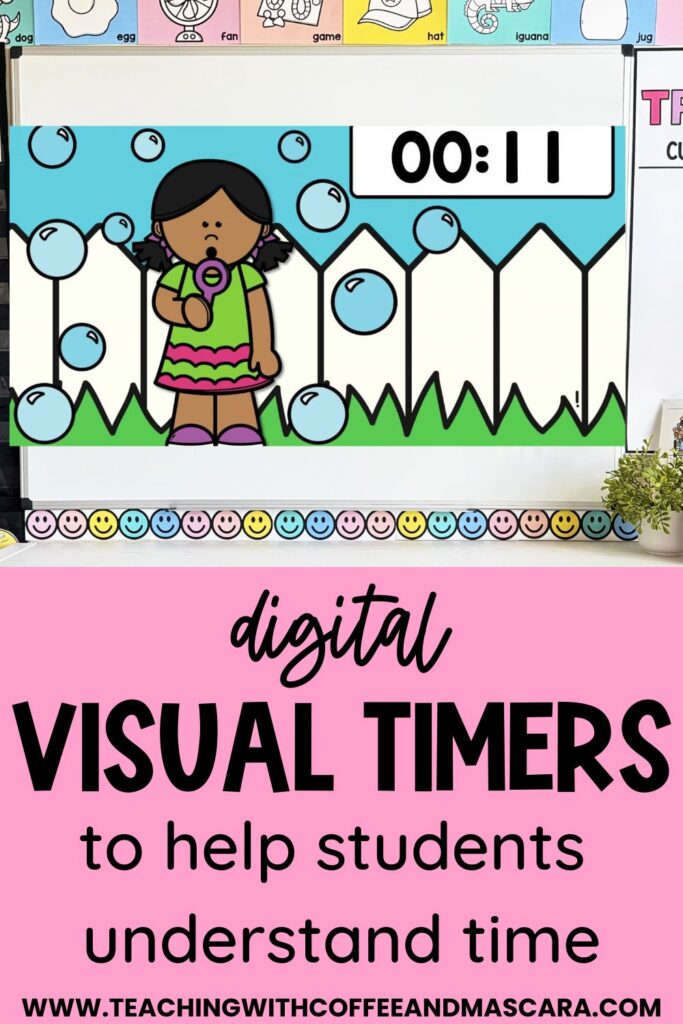
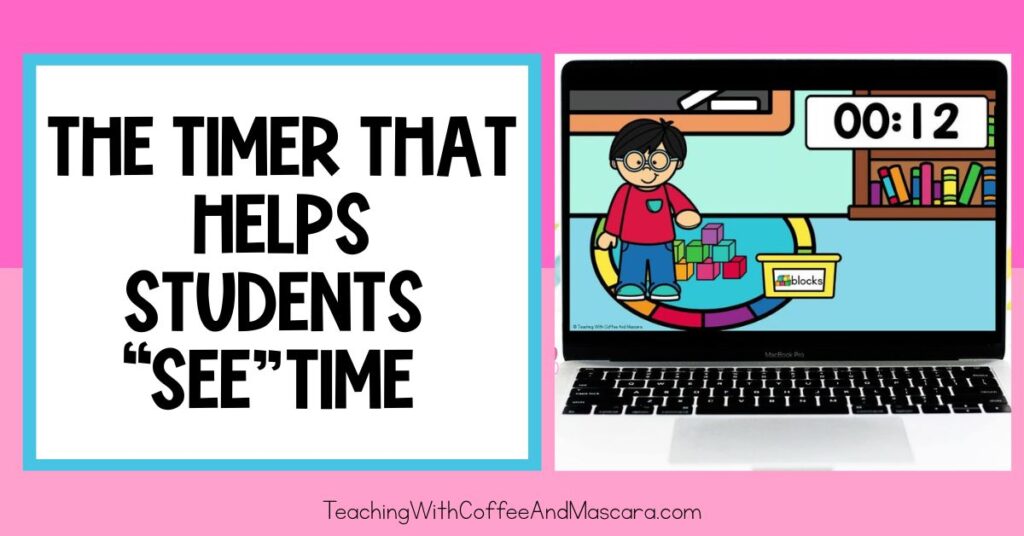
A disappearing timer isn’t just numbers counting down. It visually shows time passing by slowly disappearing items on the screen. As the image/s gets smaller, students can literally see time running out.
How Visual Timers Work?
Instead of asking how much time is left, students can see it for themselves. As the image disappears, they naturally start wrapping up their work. The visual cue helps them manage their time and understand when the end is coming.
How Do You Use a Disappearing Timer in Your Classroom?
Step 1: Decide How Much Time Students Need
Choose the amount of time students need to complete the task. I like to leave 30 seconds to a minute to make sure students have time to clean up and to be able to rotate to the the next thing.
Step 2: Display the Timer Clearly
Show the timer on your projector or smartboard so it’s visible to everyone. The bigger the better so that everyone can see it.
Step 3: Set a Clear Expectation
Let students know exactly what will happen when the timer ends. For example, “When this picture is gone, we’ll switch to the next activity.”
This gives students a clear endpoint without needing constant reminders from you.
Why Do Teachers Obsess over Visual Timers?
Fewer Questions, More Focus
Because students can see how much time is left, they stop asking. They stay focused and work until the timer finishes.
A Sense of Urgency Without Stress
As the image disappears, it creates a natural urgency. Students stay motivated without feeling rushed or anxious.
Teaches a Life Skill
Students aren’t just learning how to finish a task on time. They’re learning how to manage their own time, which is a skill they’ll use far beyond your classroom.
Final Thoughts on Visual Classroom Timers
Picture this: you’re working with a small group, fully engaged, and instead of interrupting to ask how much time is left, your students are focused, working hard, and finishing just as the timer chimes. No guessing. No constant reminders. Just a classroom full of students who understand time.
Using disappearing timers isn’t just about getting through the day more smoothly. It’s about helping students understand an abstract concept in a concrete way and building independence along the way. If you’re ready to bring more calm and focus into your classroom, give disappearing timers a try.
Save These Classroom Transition Tips
Save this post so you can come back to these transition ideas whenever you need them! Just pin it to one of your favorite teaching boards on Pinterest. That way it’s right there when you’re looking for simple, engaging ways to make your transitions smoother.