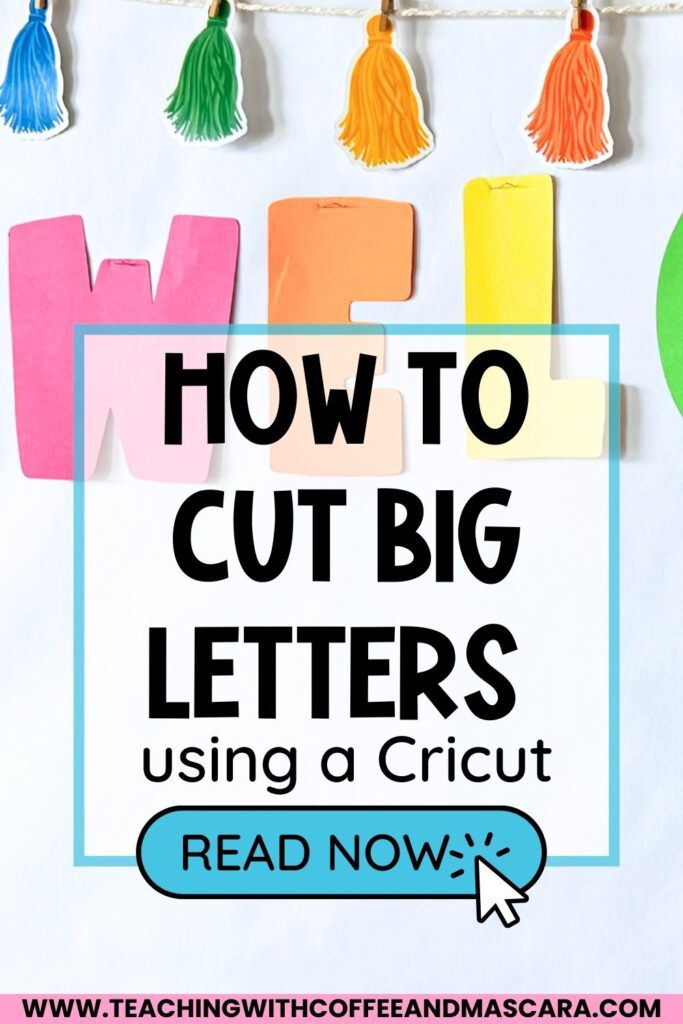
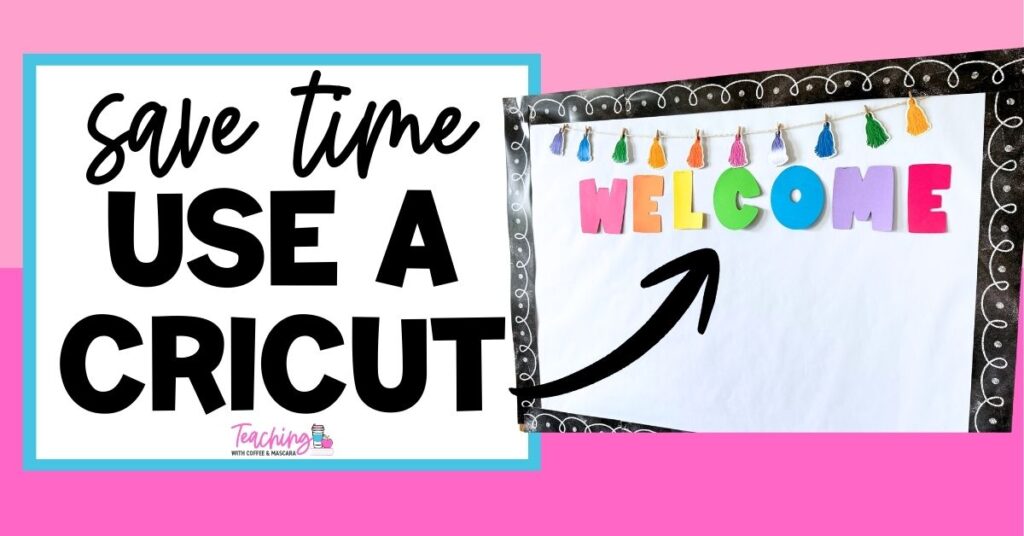
Picture this: it’s back-to-school week, 10 o’clock at night, you’re watching a show, and you’re still cutting out the last few letters for your new bulletin board. Your hand is cramping, scraps are piling up, and you’re questioning your life choices. I’ve been there. Hours spent cutting letters by hand, making sure nothing gets mixed up—it’s exhausting. That’s when it hit me: why am I still using scissors when I have a Cricut?
Using a cutting machine changes everything. Type your letters once, pick a cute font, and watch your Cricut cut them out perfectly in minutes. No hand cramps, no last-minute paper runs, no piles of scraps. In this post, I’ll show you exactly how I cut bulletin board letters using a Cricut so your setup can be quick, easy, and stress-free.
Prefer to watch instead of read? You can watch the full video here.
Table of Contents
Can You Cut Bulletin Board Letters With a Cricut?
Hand-cutting letters used to take hours. My hands would cramp, I’d stay up late, and the piles of paper were never-ending.
Then I realized using a Cricut:
- Saves hours of time
- Eliminates hand cramps
- Keeps your workspace tidy
- Lets you create professional-looking letters in minutes
If you have a Cricut sitting in a closet, now is the perfect time to pull it out. Your future self will thank you.
What You’ll Need to Get Started
To follow along, you’ll need:
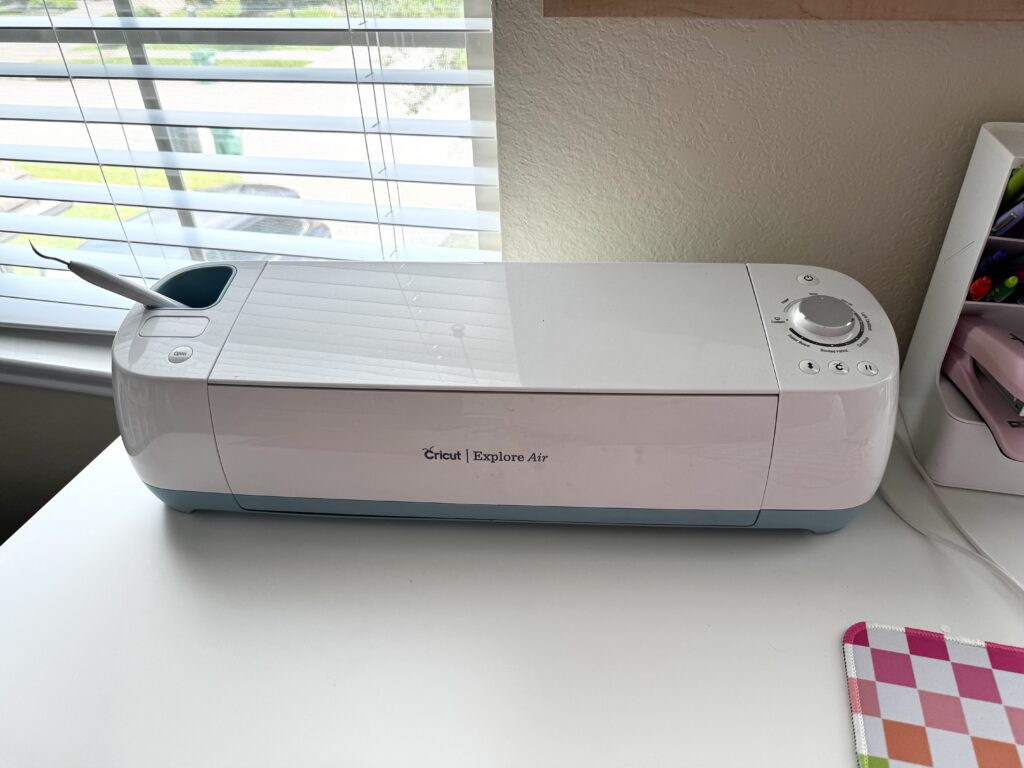
- A Cricut or other cutting machine (some libraries or friends may loan you one)
- Cricut Design Space software (free)
- Cardstock in colors that match your classroom theme
- A standard grip mat
- Optional: lamination sheets for reusable letters
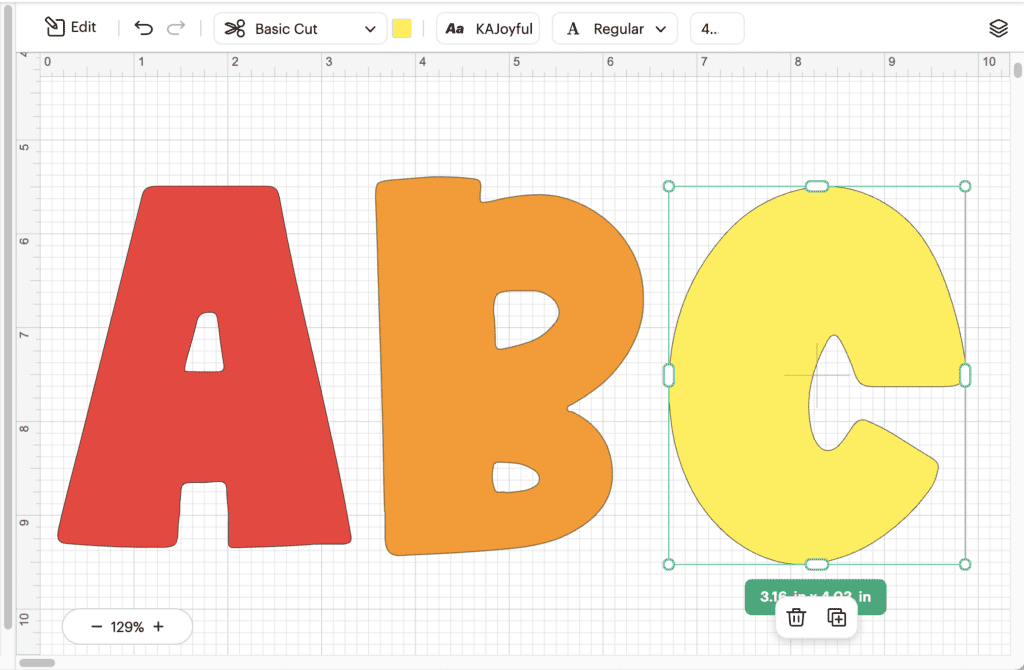
Step 1: Open Cricut Design Space and Add Your Text
- Log in to Cricut Design Space and start a new project
- Add a text box and type your letters
Step 2: Pick a Bold, Teacher-Friendly Font
I recommend fonts like KA Joyful (it’s free). Bold, readable letters help students see your headings from across the classroom.
Step 3: Resize and Organize Letters for Your Bulletin Board
How Big Can Cricut Cut Letters?
Cricut can cut letters as big as your mat/paper. My mat is 12 inches by 12 inches, and so is my cardstock, so if I wanted my letters that large, they could be. However, sometimes bigger isn’t better. Don’t forget to measure the length of the space you have to hang the letter up.
Cutting Individual Letters vs. Grouped Letters
- Decide if you want each letter separate (for different colors) or grouped together.
How to make letters cut together on cricut?
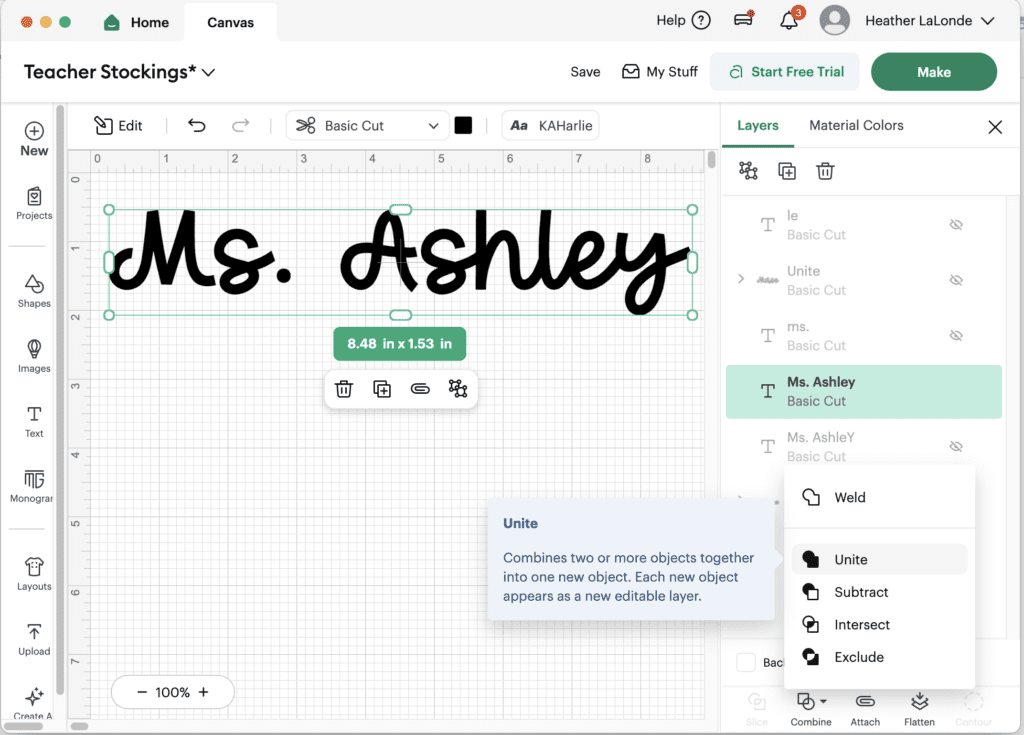
If you are using a cursive font, you will want your letters to cut together instead of individually. To do this you will want to type in your text. Size it, then use the Unite feature. I like unite versus weld because when using unite it combines the letters to cut as one but keeps the letters editable in case you need to adjust anything.
Planning Your Letter Colors
- Use colors in the software to match your cardstock—it keeps everything organized before cutting.
Step 4: Cut Your Letters Using Your Cricut
Setting Your Material Type
- Choose medium or heavy cardstock, depending on your paper, so the cuts are clean.
Removing Letters Cleanly from the Mat
- Use a spatula or weeding tool to avoid tearing.
Tips for Patterned Paper
- Check orientation so all letters match your intended design.
Step 5: Mount Letters on Your Bulletin Board
Using Glue Dots, Double-Sided Tape, or Staples
- Choose your favorite mounting method for quick and secure placement.
Quick Setup in Minutes
- With your letters cut and mounted, your bulletin board can be finished in under 10 minutes—no late nights, no stress.
Bonus Tips for a Stress-Free Bulletin Board Setup
- Borrow a cutting machine if you don’t have one
- Laminate letters for reusability
- Keep letters organized by color or theme before cutting
- Always double-check orientation with patterned paper
Final Thoughts on Using a Cricut to Cut Bulletin Board Letters
Using a Cricut to cut bulletin board letters transforms a late-night, hand-cramping task into a quick, stress-free setup. Type your letters, pick a font, cut, and hang—your bulletin board can be ready in minutes. Be sure to read this post, if you want to see exactly how I design my own bulletin board letters so that they have that little white outline.
Save These Cricut Bulletin Board Letter Tips for Back to School
Save this video so you can come back to these Cricut tips when you’re prepping your back to school bulletin boards. Pin it to one of your favorite teaching boards on Pinterest so it’s right there when you’re ready to cut clean, bold letters without the guesswork.