Have you ever found yourself staring at the clock, wondering how you’re going to get your students packed up and out the door on time?
I’ll be honest. When I first started teaching, the end of the day was my least favorite part. No matter how smooth the morning went, by 2:45 it was folders forgotten, chairs everywhere, backpacks exploding, and other classes already lined up in the hallway while I was sweating like I was running a race.
Over the years, I figured out a few simple tools that completely transformed my dismissal routine. Now my students know exactly what to do, and we actually end the day calmly. Let me walk you through how I got there.
Prefer to watch instead of read? You can watch the full video here.
Table of Contents
Dismissal Routine Step 1
Practice the Dismissal Routine Before It’s Real
Here’s the truth. Students can’t follow an end-of-the-day routine they’ve never practiced.
In the first days of school, we practice dismissal in the middle of the day. We walk through how I expect them to pack up, where I want them to line up, and what it should look like and sound like. That way, when dismissal time actually hits, nothing feels new or confusing. They already know exactly what to do. This is especially important with Kindergarten dismissal procedures, as it’s all new to them. Kindergarten will need more practice than other grade levels.
Dismissal Routine Step 2
Give Yourself Extra Time at First
In the beginning, I give a ridiculous amount of time for dismissal. Sometimes 15 minutes. And that’s okay.
We slowly work it down as students get better. By October, we can pack up in five minutes flat. Rushing too soon only creates more stress for you and for your students.
Dismissal Routine Step 3
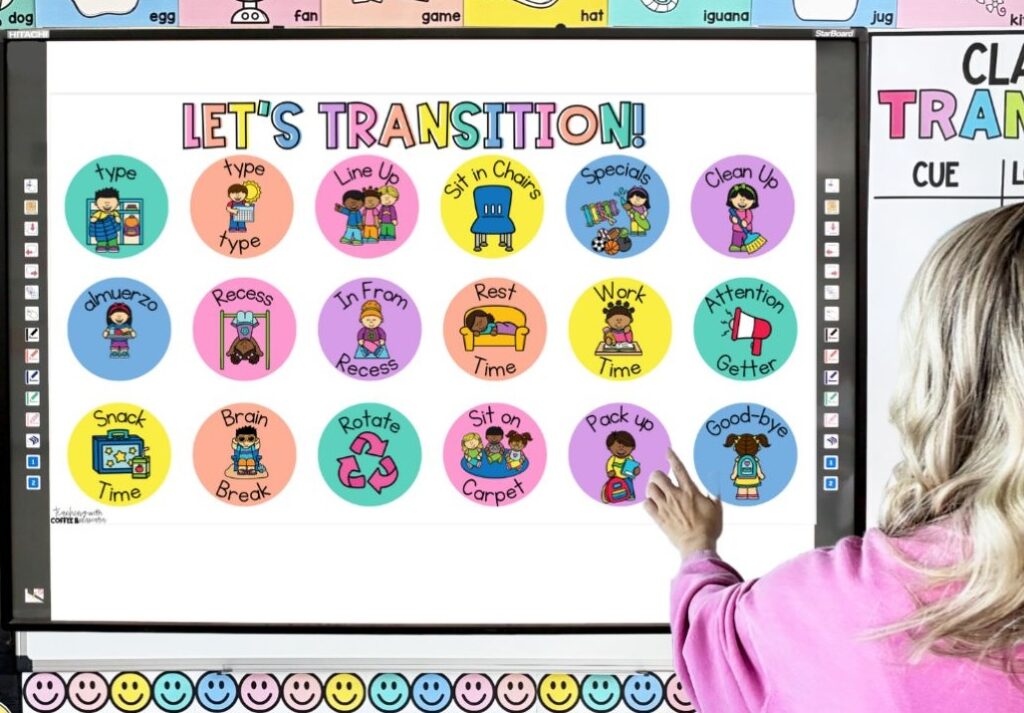
Use a Clear Anchor Chart or Dismissal Slide
One of the biggest game changers for me was posting an anchor chart or using a dismissal slide. I’ve used both.
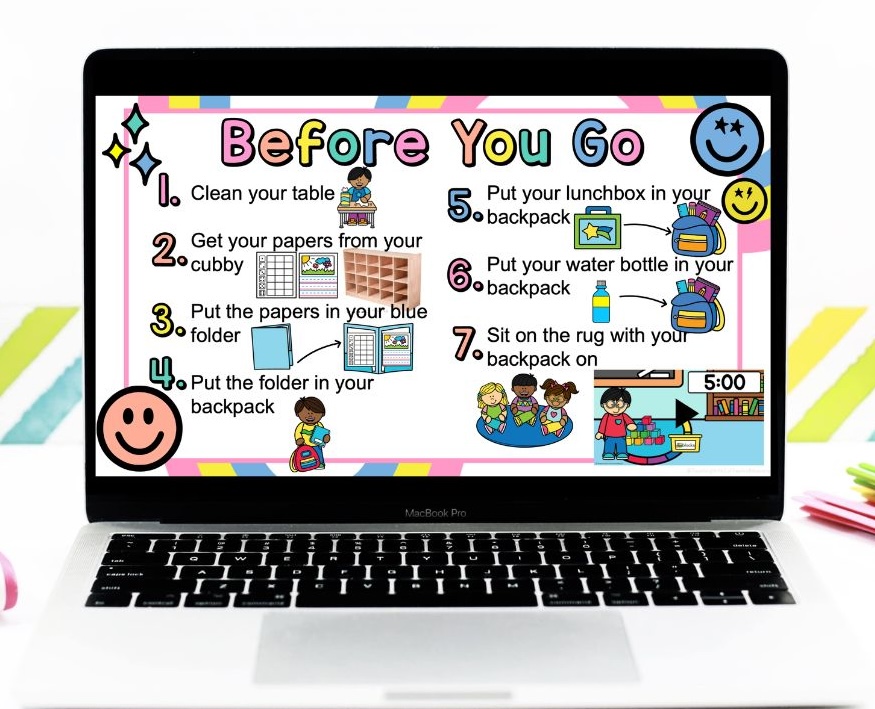
My dismissal slide includes step by step what students do at the end of the day. I like to make sure I include each step things like cleaning the table, getting papers from cubbies, putting folders in backpacks, grabbing lunch boxes and water bottles, and sitting on the rug with backpacks on. The chart/slide hangs in the same spot every day, and before we even begin packing up, I point to it.
It’s simple, predictable, and it cuts down on questions.
Mini Desk Anchor Charts for Extra Support
For students who need extra help, I also use mini desk anchor charts. They’re small, personal, and give those students one less thing to worry about during dismissal.
Dismissal Routine Step 4
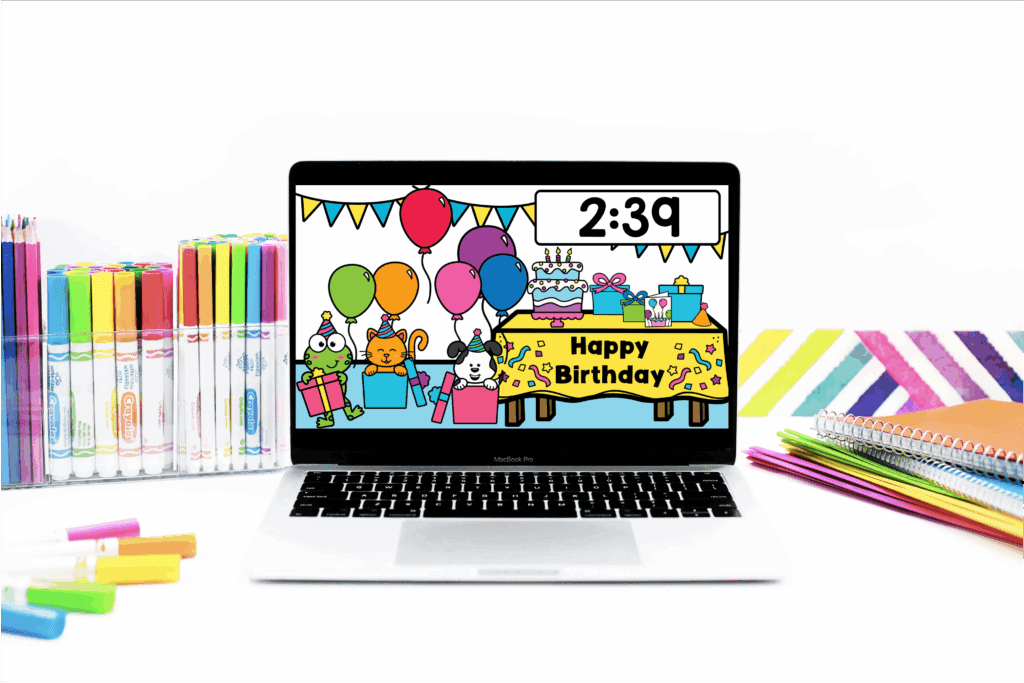
Use Visual Timers to Keep Kids Moving
Once the routine is established, sometimes pacing becomes the issue. Some kids finish in seconds, and others act like they have all day.
A visual timer keeps everyone moving at the same speed. I had one student who took five minutes just to put a folder in his backpack. The timer motivated him more than I ever could. He started racing the clock instead of testing my patience.
Dismissal Routine Step 5
Line Students Up by How They Go Home
Instead of letting students bunch up randomly, we line up by how they go home. Car riders first, then bus riders, then walkers.
This has saved me so many headaches. No more frantic searching when the bus line starts moving.
Dismissal Routine Step 6
Use Music as a Cue
The final piece of the puzzle for me was music. I chose one clean-up song and played it every day.
At first, it was just fun. Over time, it became a signal. The second the song starts, my students know it’s go time. No yelling, no clapping, no chaos. Just a predictable rhythm and a clear goal to be finished before the song ends.
Final Thoughts On Dismissal Procedures
So here’s what I want you to hear if dismissal currently feels like a daily fire drill.
It doesn’t have to.
The end of the day sets the emotional tone for everything that comes after it. It’s the last thing your students feel before they walk out the door. It’s the last thing you feel before you head home. When dismissal is chaotic, it lingers. When it’s calm, everyone just feels better.
The thing that changed everything for me wasn’t a complicated system. It was consistency.
- Practicing before it was the “real deal.”
- Giving more time than I thought I needed.
- Posting the steps so I didn’t have to repeat myself 47 times.
- Using visual timers so I wasn’t the one keeping track of the time.
- Having students sit by how they go home.
- Letting music do the cueing instead of my voice.
None of these are flashy. None of them require you to reinvent your personality at 2:45 p.m. They’re simple, predictable supports that do the heavy lifting for you.
And here’s the part no one talks about: when dismissal runs smoothly, you don’t just save time. You save energy. You end your day feeling capable instead of frazzled. Your students leave regulated instead of rushed. That matters more than we give it credit for.
For more classroom management ideas, check out these posts:
- How to Create an Effective Classroom Transitions Anchor Chart
- Why Visual Timers Help Young Students Manage Time
- How to Use Transition Songs to Improve Classroom Management
Save These Classroom Dismissal Tips
Save this post so you can come back to these dismissal ideas whenever you need them! Just pin it to one of your favorite teaching boards on Pinterest. That way, it’s right there when you’re looking for simple, engaging ways to make your end of the day smoother.