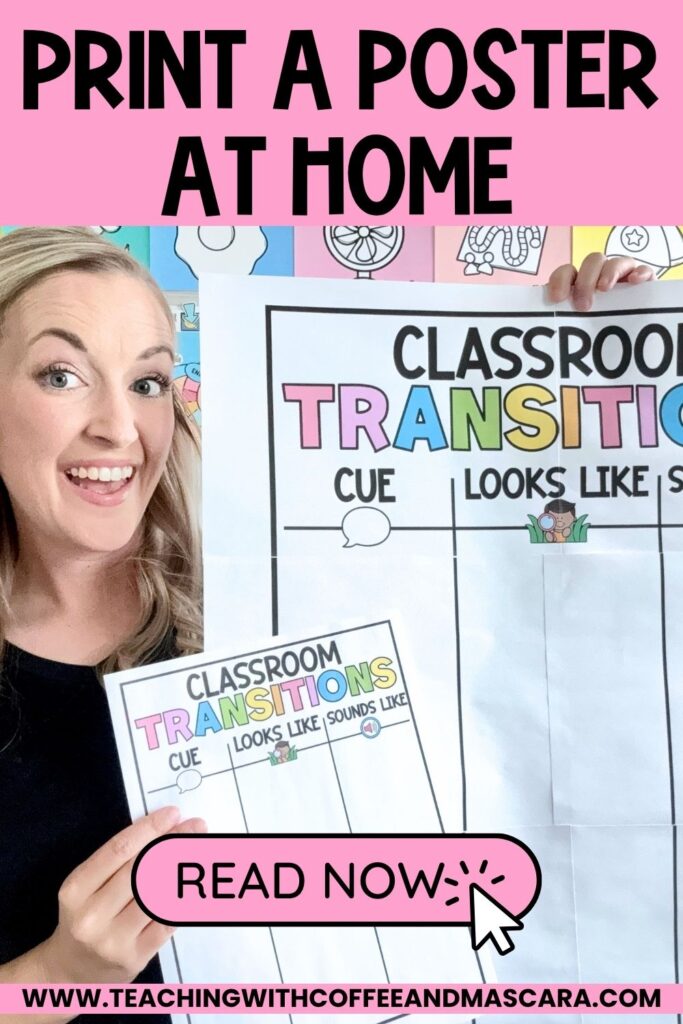
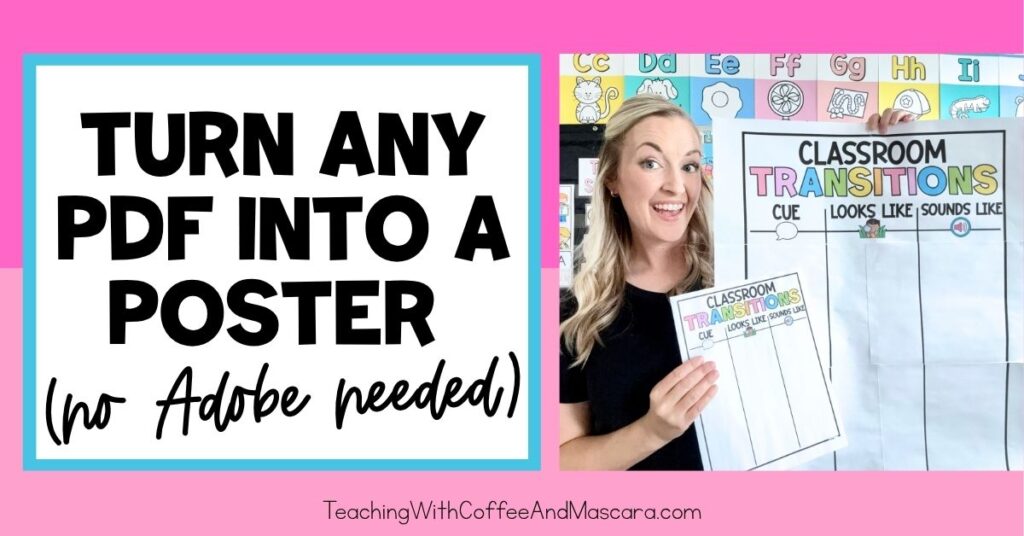
I know many of you are wondering how to print a poster at home without Adobe since Adobe started charging for its poster feature.
In this post, I’m showing you two programs today just in case one disappears (ah technology). That way, you always have a backup.
Not feeling these websites? Read how to print a poster using Canva.
Prefer to watch instead of read? You can watch the full video here.
Table of Contents
How to Print a Poster at Home Without Spending a Fortune
Step 1: Turn Your PDF into an Image
The first step that you’re going to need to do is to turn your PDF into images. Start at smallpdf.com.
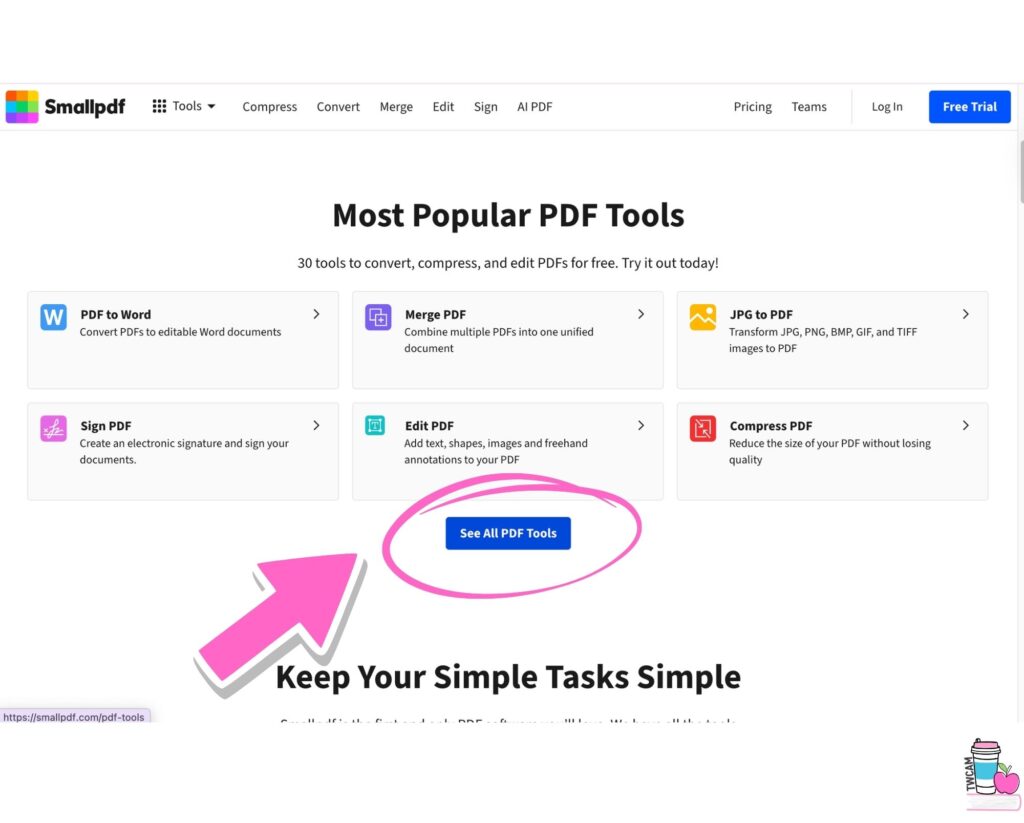
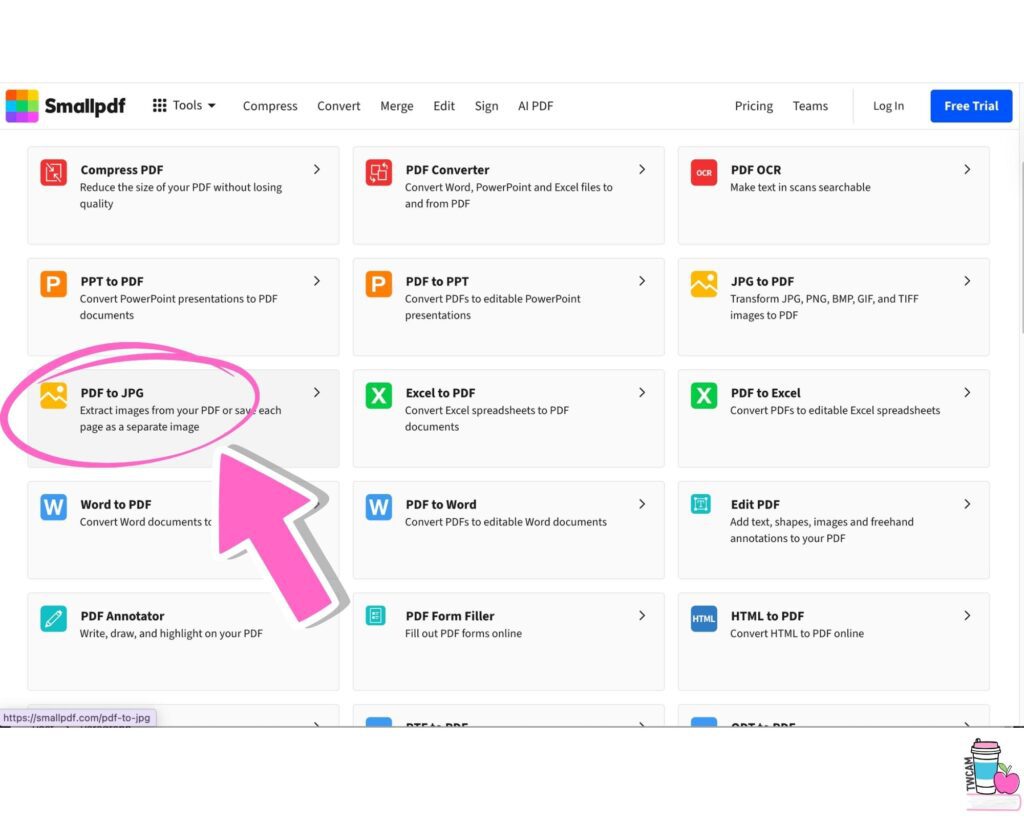
Go to Tools, click See All PDF Tools, and choose PDF to JPEG.
Upload your PDF. Wait for it to populate all of your pages into images.
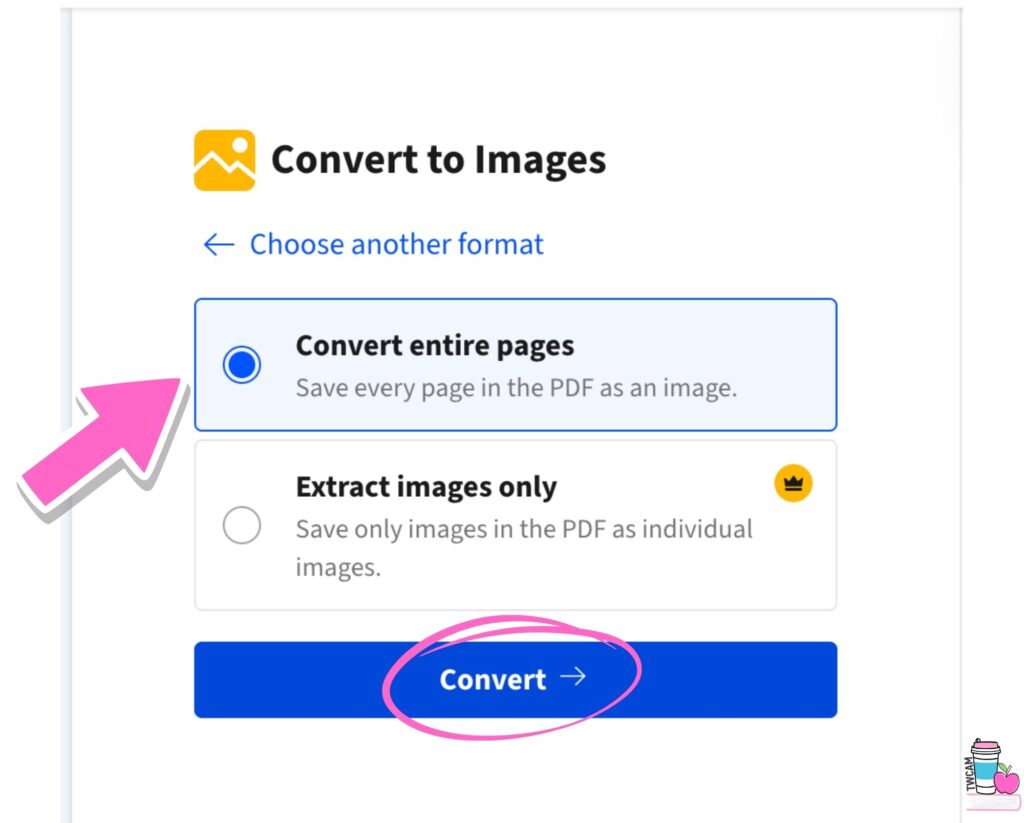
Make sure you choose the first option, “Convert entire pages,” because it’s free and does exactly what we need.
Download the image by clicking the arrow button and select the exact page you want.
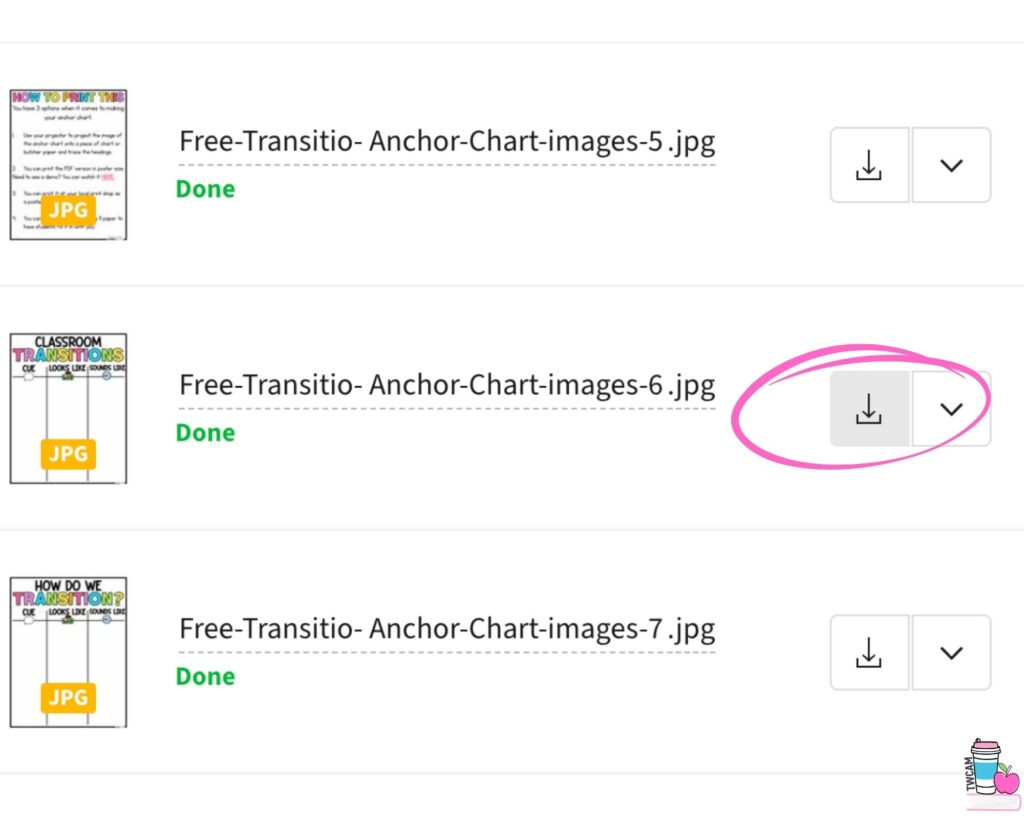
Now, an image (a JPG) of your PDF should be saved onto your computer (usually in your downloads). Next, we are going to take this image we created and turn it into a poster using one of the 2 websites.
Step 2: Choose Your Website Preference
I’ve included 2 websites for you to choose from Rasterbator and Posterazor. They both have different qualities. Read below to decide which one will work best for your project.
Website 1 — Making a Poster with Rasterbator
1. Upload Your Image
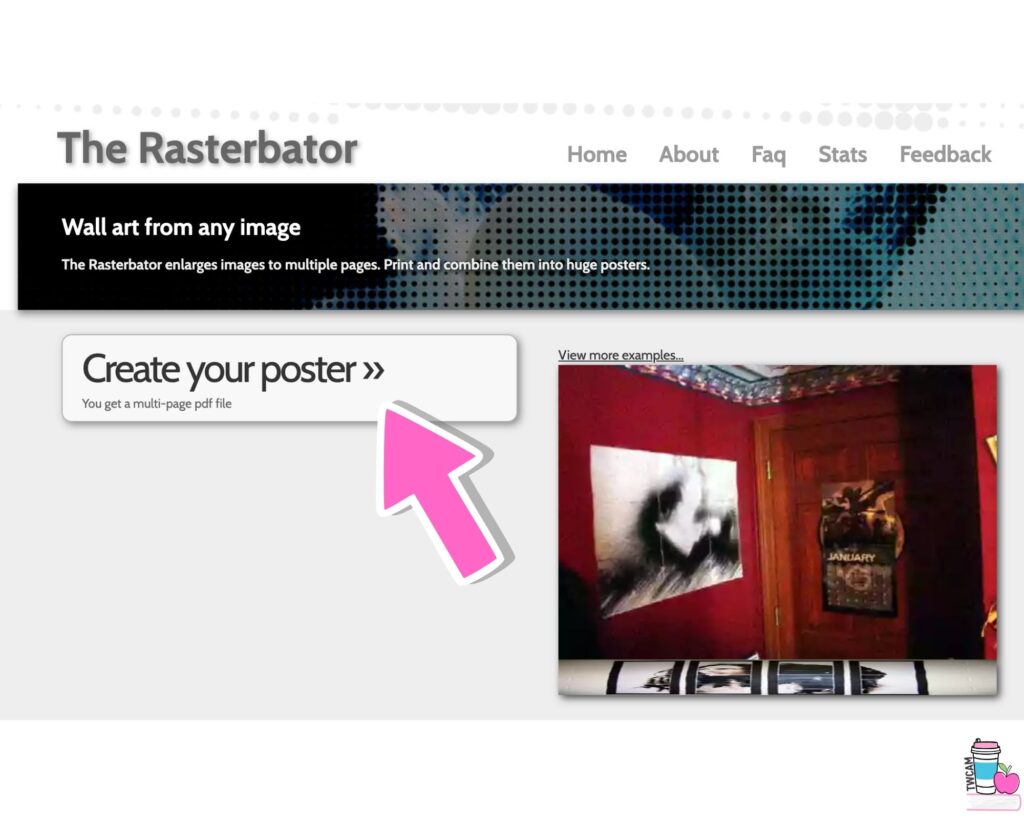
Go to rastorbator.net and click Create Your Poster.
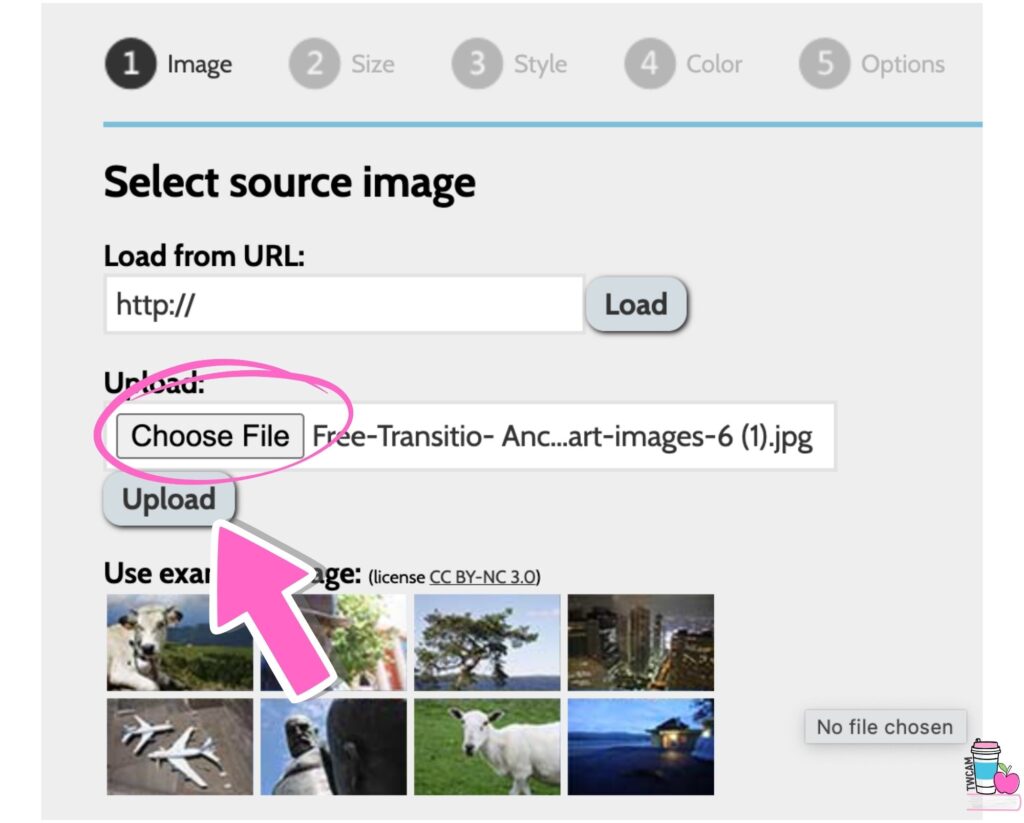
Upload the image you just downloaded and press upload.
2. Size and Sheet Settings
Choose how many sheets wide you want your poster to be. It shows you what it looks like and how big it will be, including a person next to it for scale. (I love this visual!)
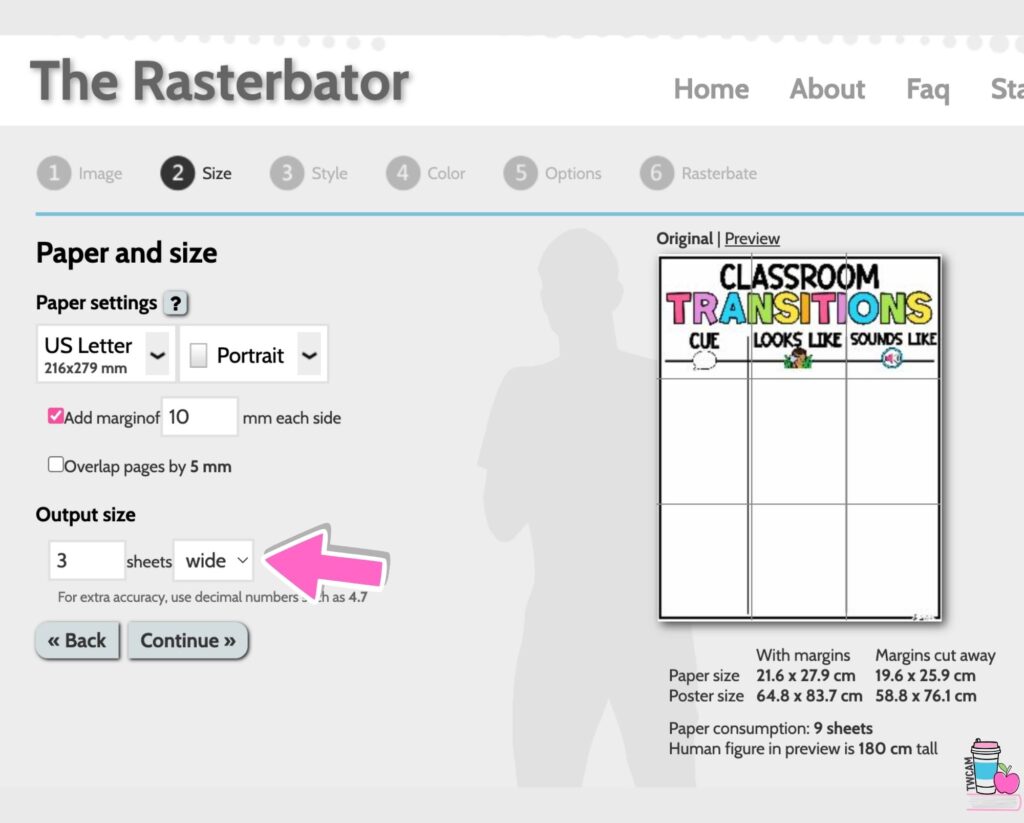
Turn on margins, I like 10 mm each side.
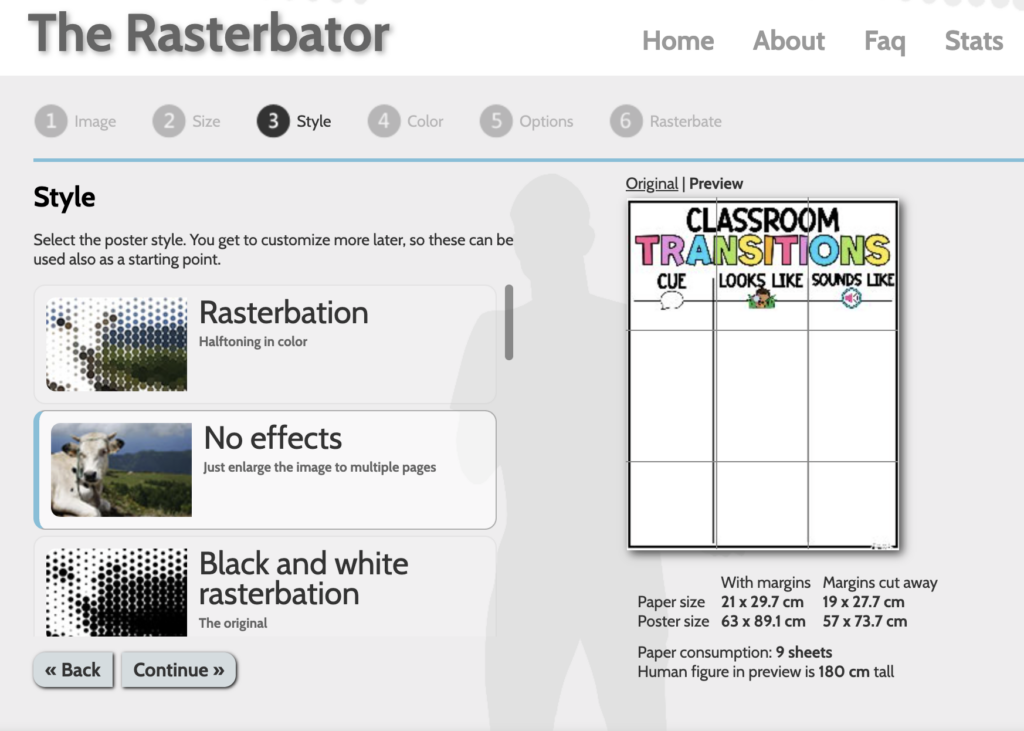
3. Style & Color
For style, I like to choose No Effects. I haven’t really played around with any of these settings.
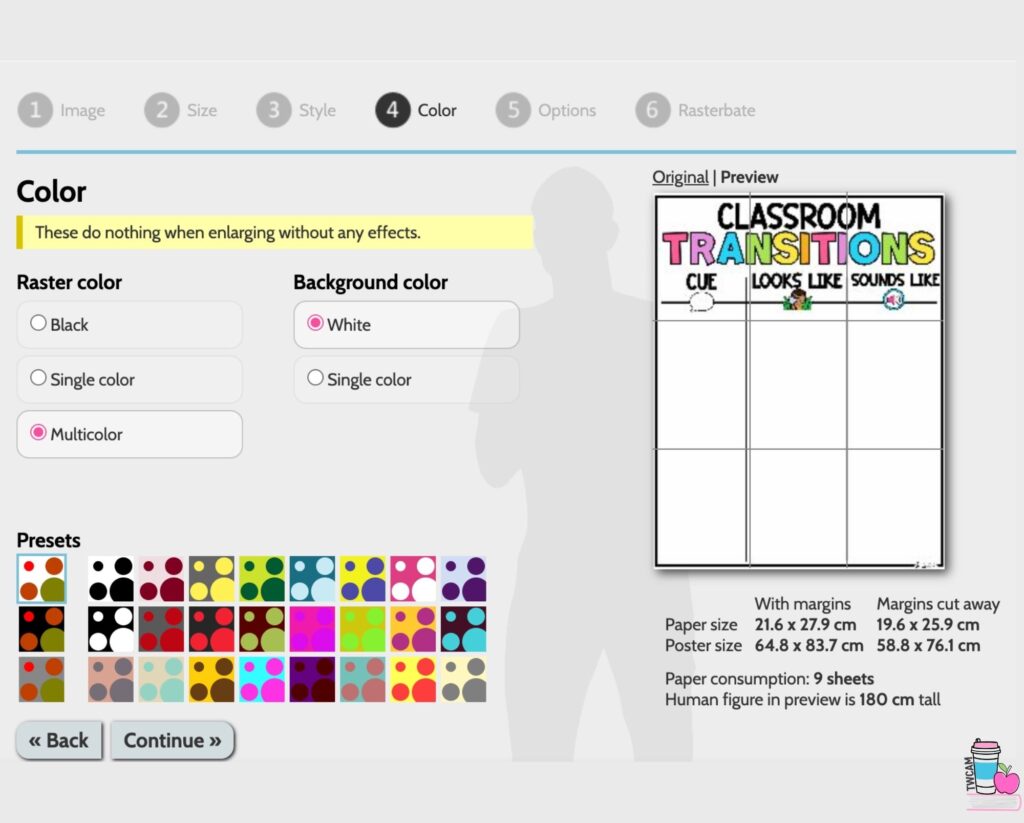
For Color, I keep the Raster color as is and the Background color as white.
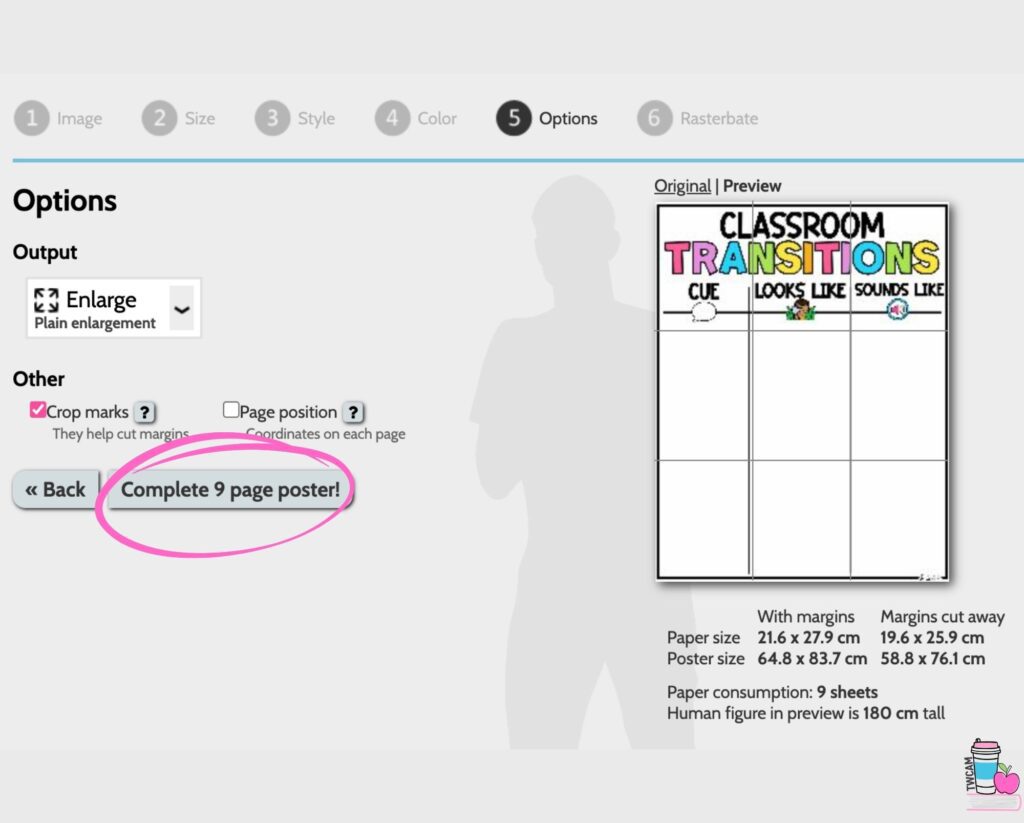
3. Printing and Overlap
This method overlaps and shows cut marks.
Because it prints as an image, it can look more gray instead of white, which is something to be aware of.
Rasterbator is great because it shows the scale clearly, but the gray background can be an issue if your background is white.
Website 2 — Making a Poster with Posterazor
Layout and Borders
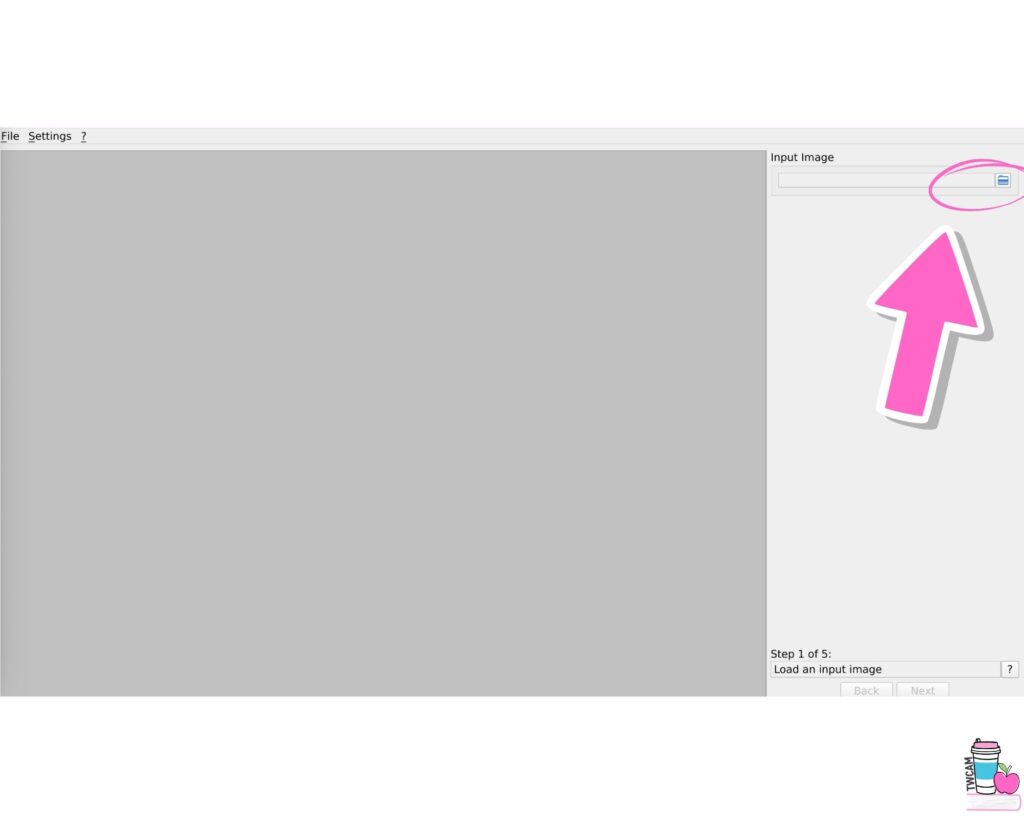
Step 1. Go to posterazor and upload your image using the file folder icon, then click Next.
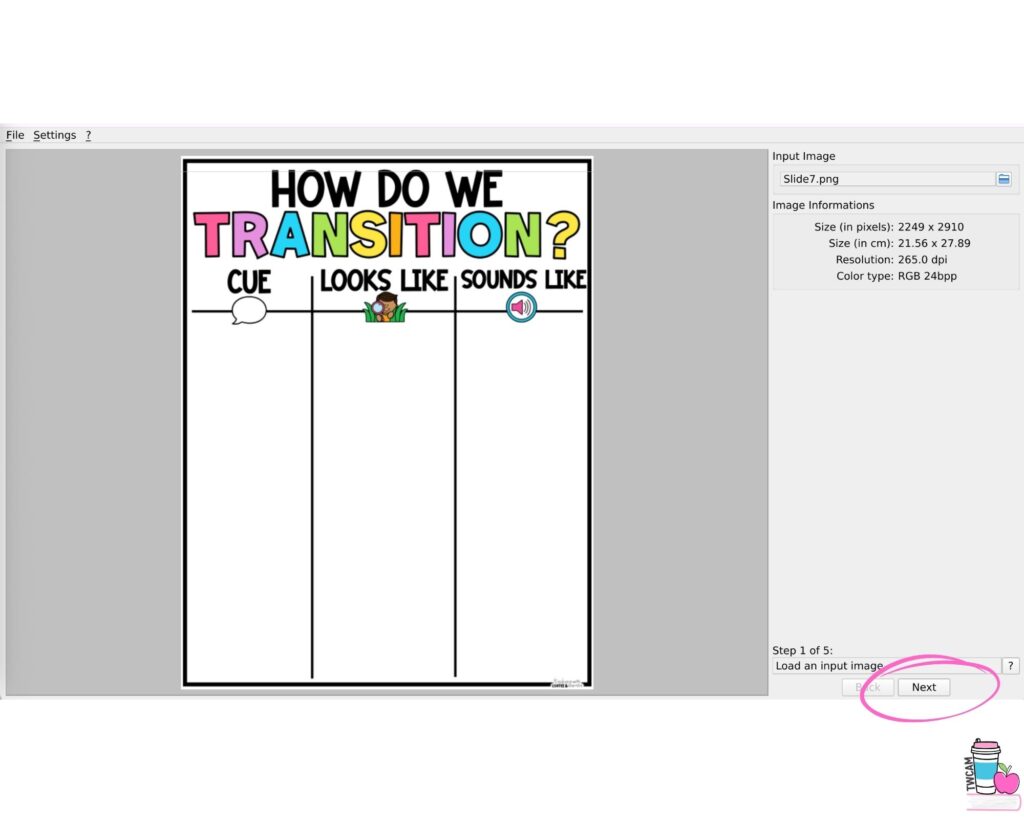
Step 2. Choose portrait or landscape and adjust your borders, then click Next.
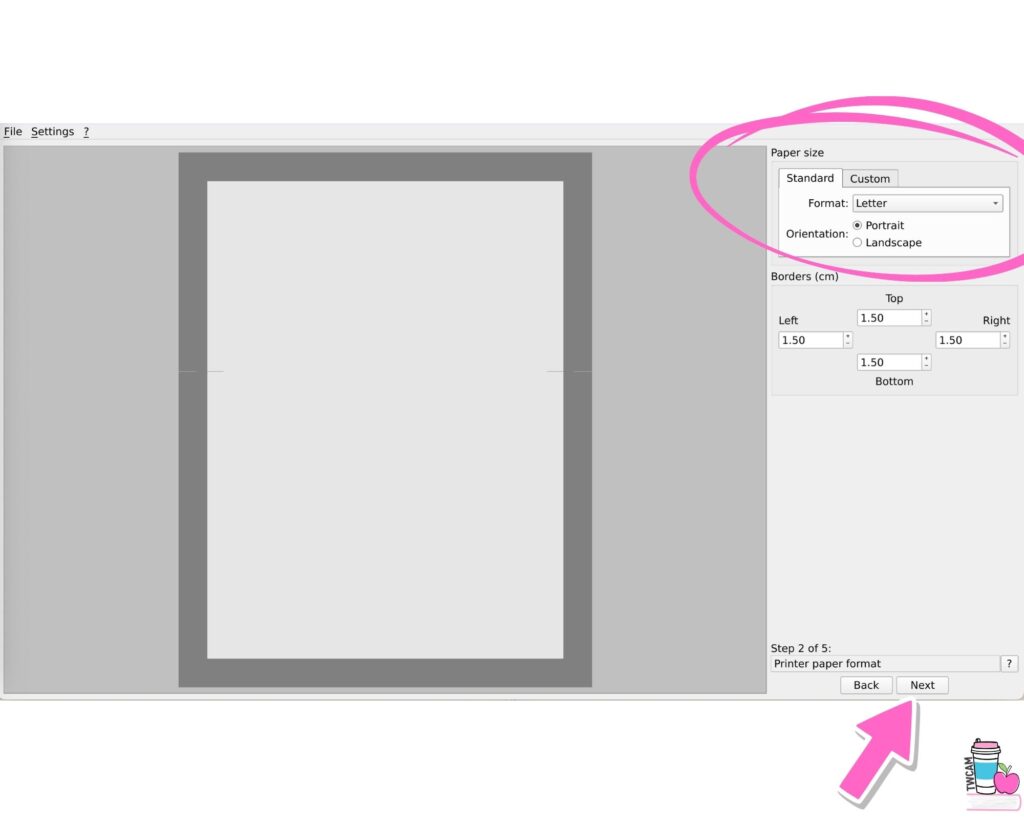
The recommended border setting is 1.5. I usually leave it at that.
Overlapping
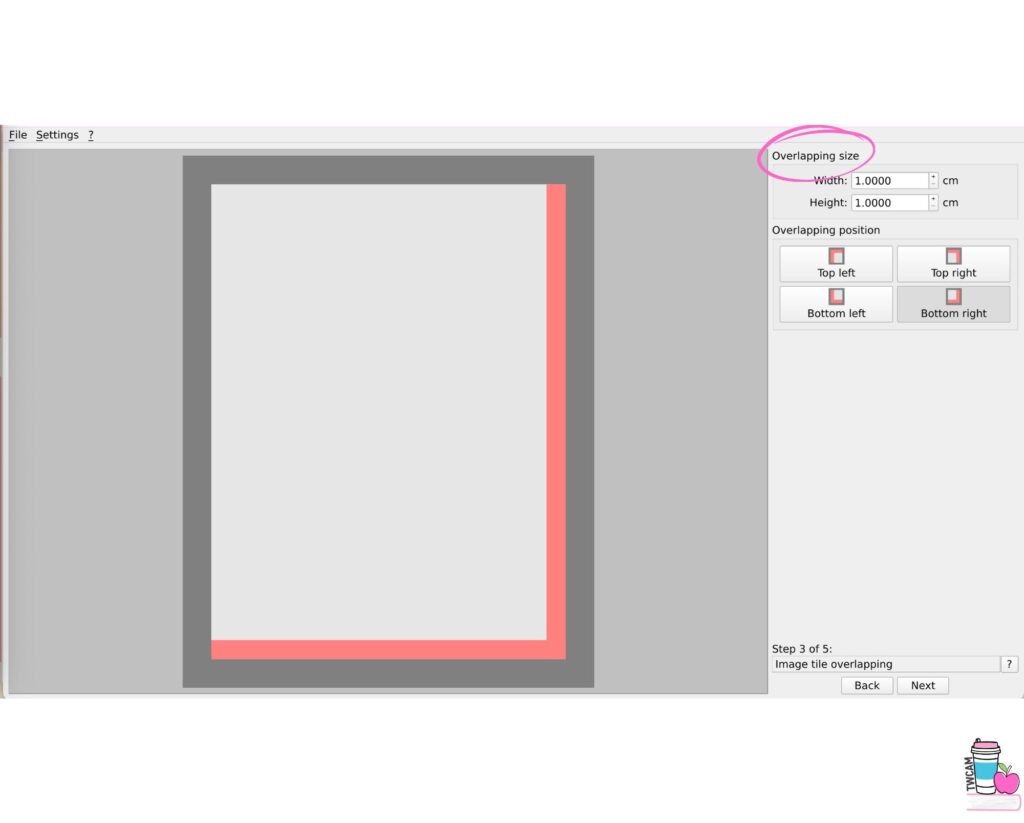
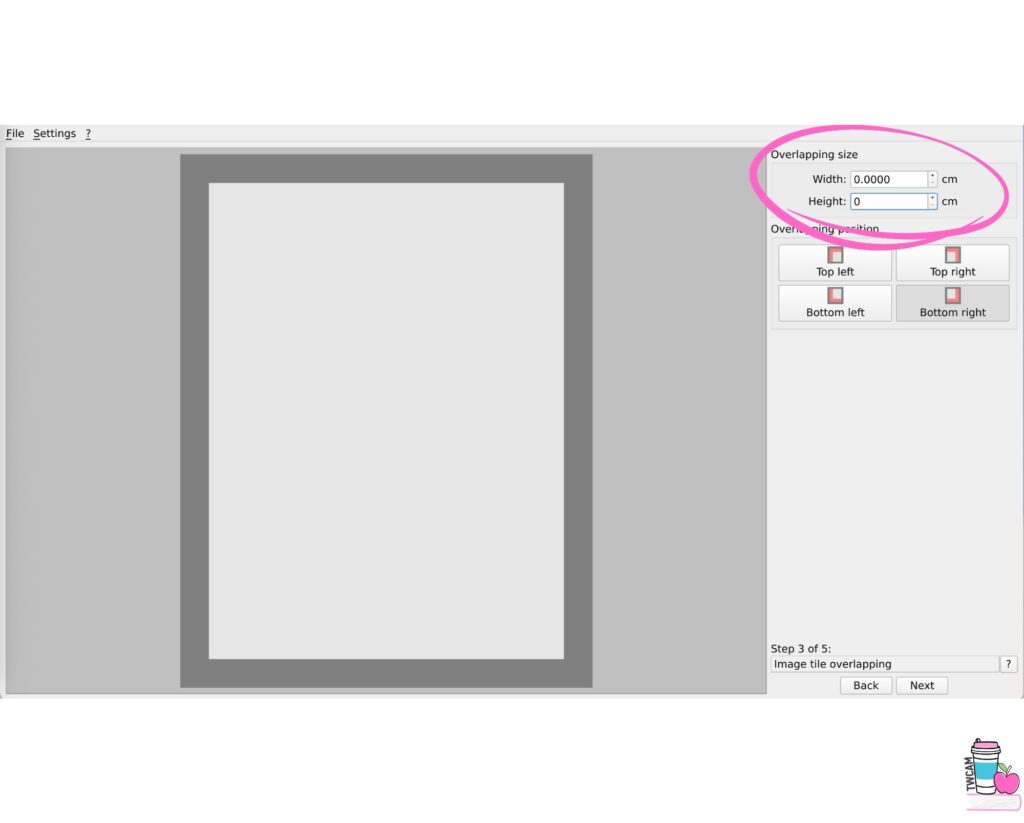
Step 3: If you leave the numbers as is, the pages will overlap. This means you don’t have to trim the pages but lay them on top of one another. Personally, I find this very hard to get straight. I like to change my overlap size to 0.
Size and Scaling
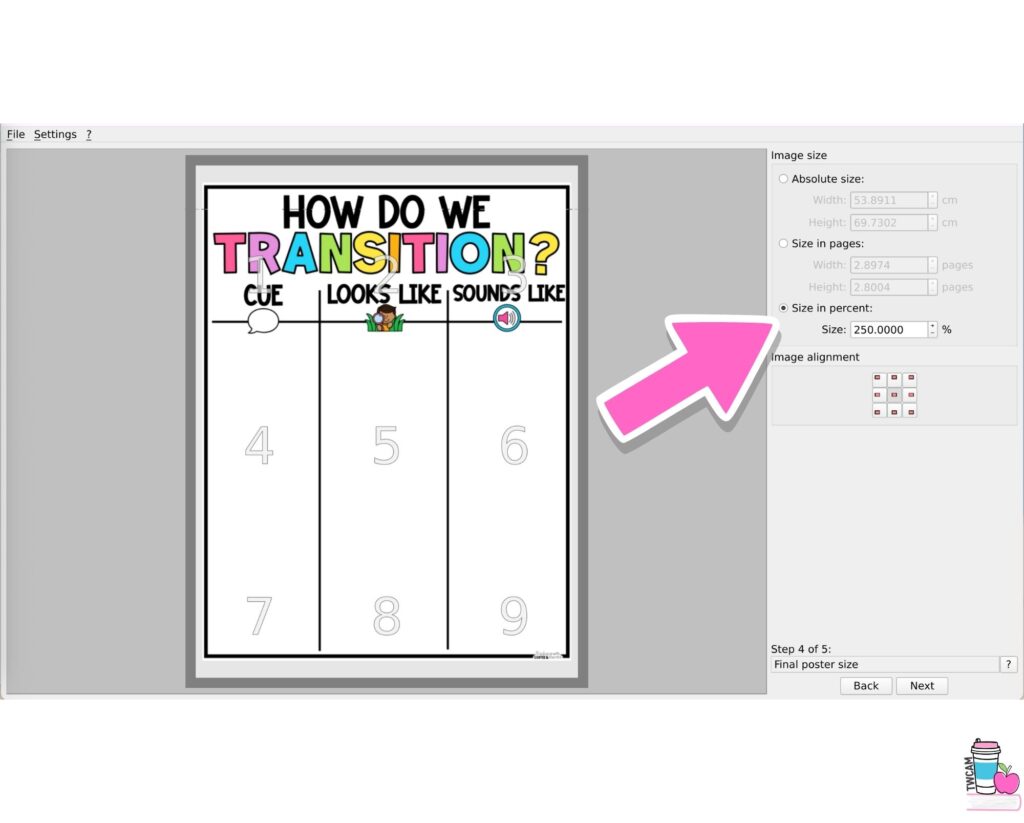
Step 4. You can choose between size and percent, or size and pages, or an absolute size.
For this example, I set it to size and percent and set the scale to 250%, then saved.
Absolute size: If you know an exact measurement you need it to be.
Size in pages: if you know exactly how many pages wide or high you need it to be.
Saving and Printing
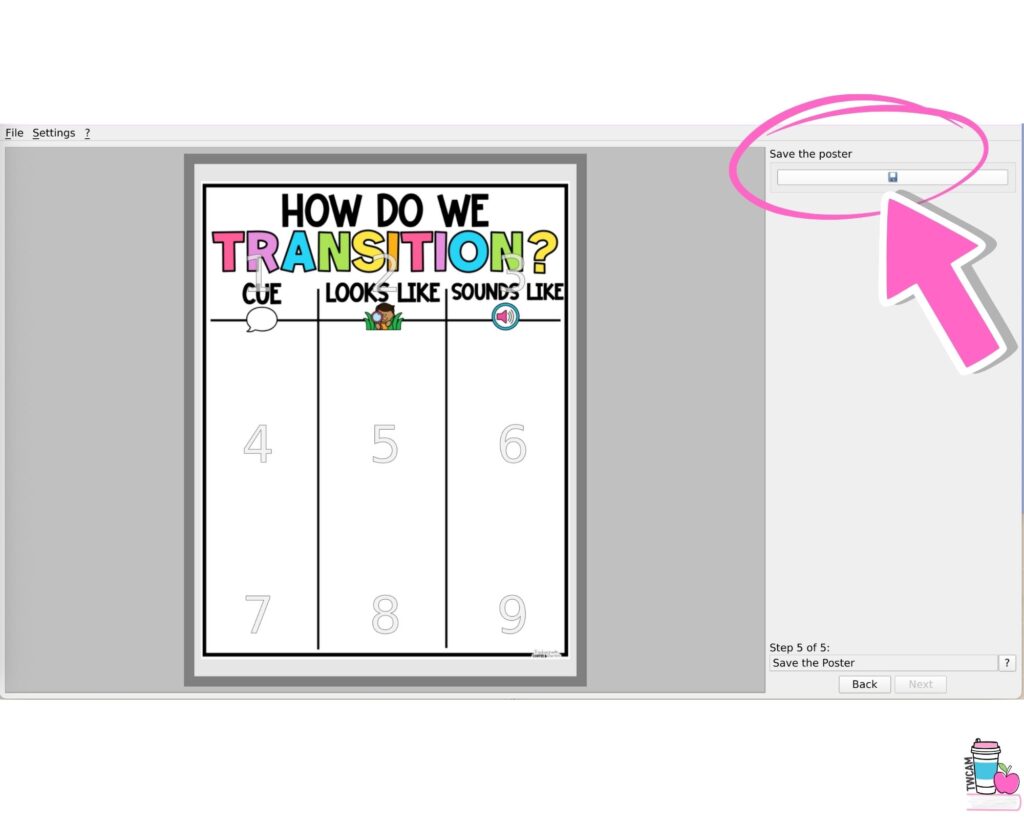
Step 5: Click the old school disk to save your project. The website will save your project as a PDF.
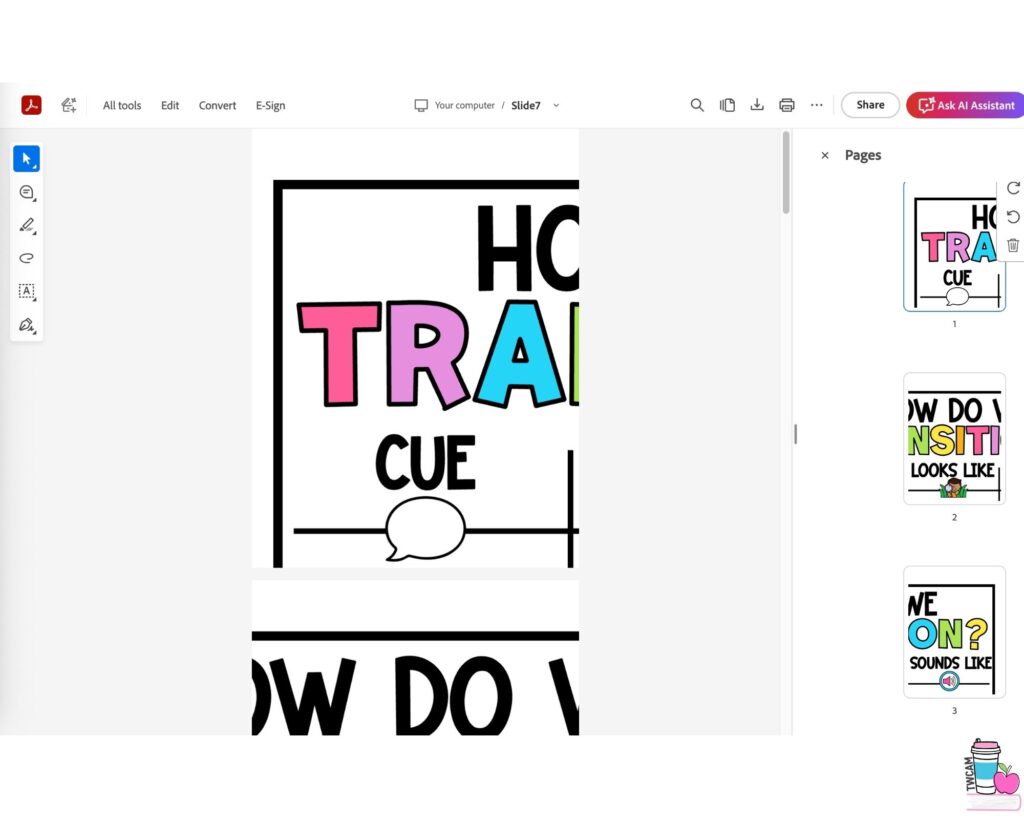
Step 6: Open your PDF and print. I like that it prints in white instead of gray, so it doesn’t waste ink.
Final Thoughts on Printing a Poster at Home
In just a few minutes, you can turn any PDF into a printable classroom poster without needing paid software. This is a helpful trick to keep saved for the next time you need to print a classroom poster.
Since writing this post, I’ve learned how to make a poster using Canva my new favorite teacher trick!
For more classroom tutorials, check out these posts:
How to Create Bulletin Board Letters in Canva
How to Cut Bulletin Board Letters With a Cricut
How to Make a Poster Using Canva
Save These Poster Printing Steps
Save this post so you can come back to these simple steps for printing a poster without Adobe whenever you need them. Just pin it to one of your favorite teaching boards on Pinterest. That way, the next time you’re ready to print a poster and want it sized correctly the first time, the step-by-step guide is right there waiting for you.